Garlicious Grown black garlic starts life as quality hard-necked garlic grown in Braidwood in the New South Wales Southern Tablelands about an hour from Canberra. It’s grown by farming friends and business partners Jenny Daniher and Cathy Owen.
The process of producing black garlic involves taking only the best quality garlic and placing it in a special chamber at high humidity but low temperature for 30 days. During this period oxidation takes place and the chemistry inside each separate clove of garlic changes naturally. The strong garlic aromas are transformed into compounds that taste delicious; starch turns to sugars and the fructans decrease. Most importantly, the colour turns from white to black.
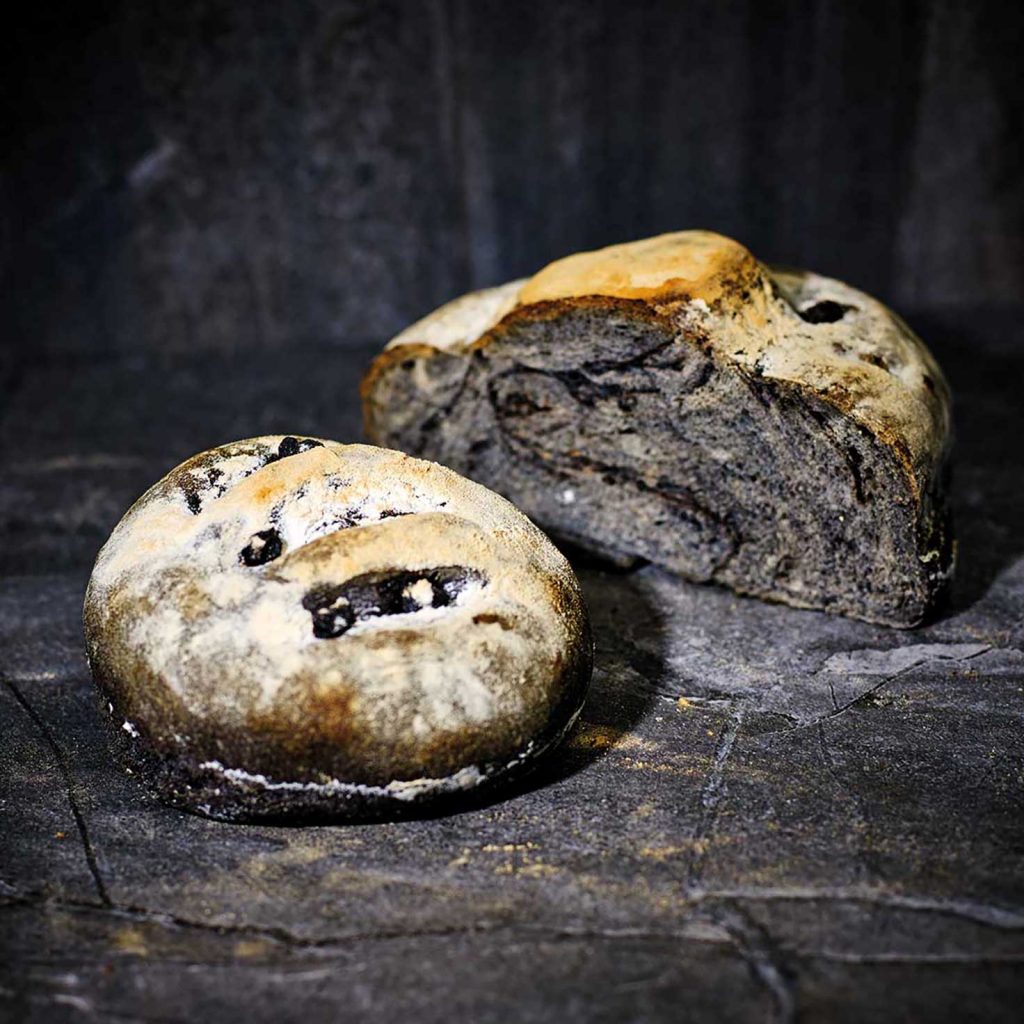
The black colour makes it a dramatic addition to any dish, inclding this fabulous sourdough bread recipe.
Black Garlic Sourdough Bread
Makes 2 loaves
4 cups robust white bread flour
3 cups basic sourdough starter
1½ tsp salt
8 large Garlicious® Grown black garlic cloves, peeled
10g squid ink (optional, for colour)
Extra virgin olive oil
Basic Sourdough Starter
3 cups plain all purpose flour
3 cups warm water
1½ tbsp active dry yeast
1 tsp sugar
Method
1. In a large bowl, combine warm water, yeast and sugar. Allow to sit at room temperature for 5-8 minutes until the yeast becomes foamy.
2. Add the flour and stir vigorously with a wooden spoon until all ingredients are combined.
3. Cover the bowl with a damp cloth and allow to rest in a warm environment for 8-12 hours. The mixture will become bubbly as the yeast begins to activate.
Preheat oven to 200C
Black Garlic Sourdough Bread Method
1. In a KitchenAid mixing bowl, combine flour, sourdough starter, salt, caramelised black garlic cloves and squid ink.
2. Using a dough hook attachment, knead on a medium speed until a dough ball has formed and no longer sticks to the sides the bowl (this should take 5-8 minutes).
3. Remove the dough and place into a lightly oiled bowl. Cover with a damp cloth.
4. Place the bowl in a warm environment and allow dough to prove for one-and-a-half hours or until doubled in size.
5. Turn the dough out onto a lightly floured work surface and gently knead with hands.
6. Divide the dough into two equally sized balls and gently knead to shape into small circular loaves.
7. Place formed dough on a lined baking tray, large enough to hold two baked loaves. Cover with a damp cloth and rest for one hour in a warm environment.
8. With a sharp serrated knife, slice three evenly spaced deep cuts into the top of each loaf.
9. Spray each loaf lightly with water and place into the hot oven.
10. Bake for approximately 60 minutes, until a golden crust develops. When ready the bread should produce a hollow sound when tapped at its base.
11. Remove the loaves from the oven and allow to cool on a wire rack.
Comments are closed.